A crossover cable is not expensive. They run $7-$12 retail at Fry's and other discount electronic supply houses. If you have spare cable, connectors and a crimping tool, you can make one yourself. If you're like me, however, you have no tools and you're not happy about spending $7-$12 for something that costs a coupla bucks to manufacture. You want an alternative.
Well here it is. What follow are instructions for making a crossover coupler that will make any two standard, or straight-through cables into a crossover cable. Another benefit of using a crossover coupler is that you can replace it with a hub in the future without changing out any of the cables. For example, if you have two computers connected to each other, and you later want to add a third computer or a printer, you can remove the crossover coupler, replace it with a hub, and run one more length of cable to the new device. If you had used a single crossover cable, you'd have to run three new lengths of cable to the location to the new hub.
These instructions may not be perfect for every coupler you might buy, but I'd guess that they're all fairly similar.
|
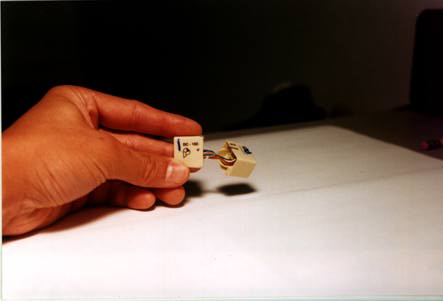
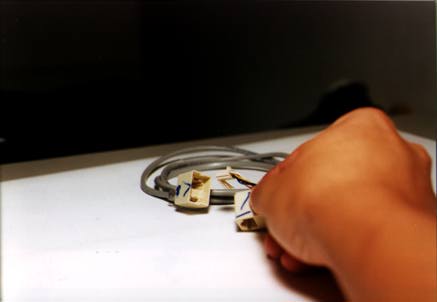
| If your coupler is like mine, you can disassemble it simply by pulling it apart. It snaps together without any fasteners or glue, so should separate cleanly, without breaking. Once you have it separated, untwist it so it's easier to work with. |
| Look inside the coupler and see how it fits together. |
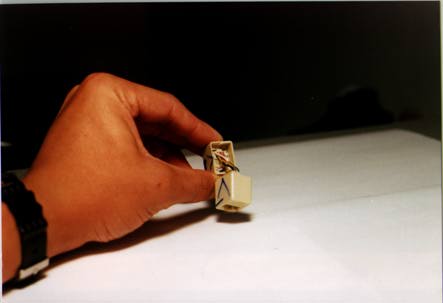
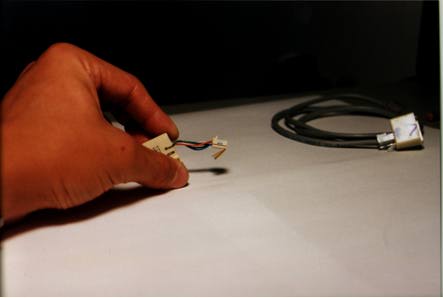
| The inner assembly of the coupler plugs into the inside of the housing in much the same way as a cable plugs into the outside. It's held in place by a locking tab on the top and by the leads on the bottom. First, insert the small screwdriver in the slot above the small wires (shown in blue on the right side of the diagram). |
| Twist the screwdriver gently while pulling on the small wires. The locking tab on top should release, and the inner assembly should slide part of the way out. The leads on the bottom will continue to hold the inner assembly in place. |

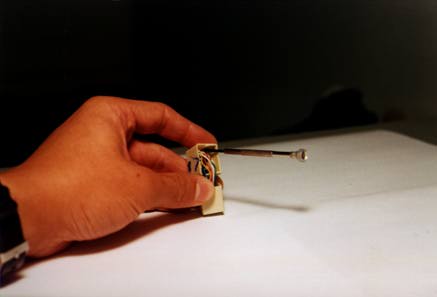
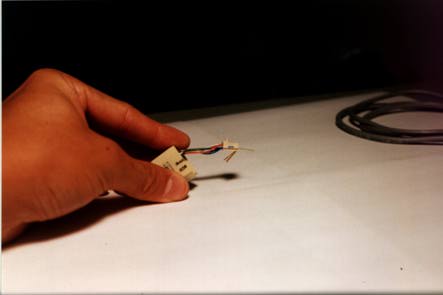
| Next, insert an RJ-45 connector into the coupler. The connector will push the leads up and release the entire inner assembly, which should then slide completely out. |
| |
| Here it is with the inner assembly removed from one half of the coupler. |
| To remove a wire, bend its corresponding lead up until it sticks straight out of its hole. You can then pull the wire straight back and out through the inner assembly. |
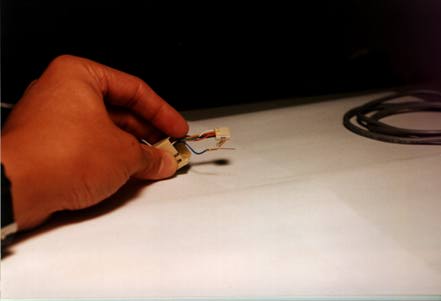
| Here it is with a wire removed. |
Swap pins 1 and 3, and then swap pins 2 and 6.
That's it!
 Back to the Power Mac 6100 Graphics Page
Feedback? Corrections? Mail me @ steven@kan.org
Last updated: 7/30/97
Revision 1.0
Thanks, and please come back soon!

